Ceramic Slice Tool
Using a Ceramic Slice Tool for Drawing Fur
One of the biggest challenges when drawing fur babies is capturing soft white fur and fine whiskers. These delicate details can be difficult to achieve with colored pencils alone, especially when layering colors.
An easy and effective method is using a ceramic slice tool. It took me some time to figure out the right technique, but once you get the hang of it, it becomes a game-changer for creating realistic fur textures.
Why Use a Ceramic Slice Tool?
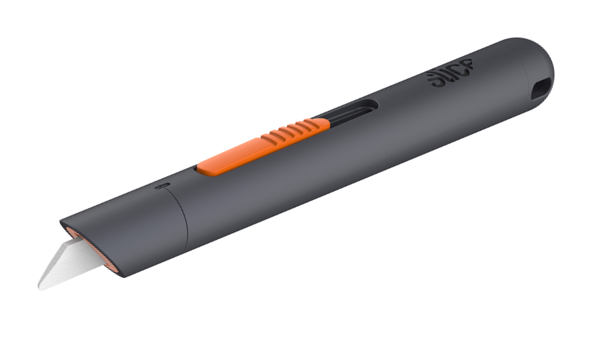
A ceramic slice tool allows you to gently scrape away pigment from the paper surface, revealing lighter layers underneath. This makes it perfect for:
- Adding white fur highlights
- Creating fine whiskers
- Enhancing texture and depth
It’s truly a must-have tool if you enjoy drawing animals.
How to Use It
Note: The following steps are specifically for Bristol paper.
The technique can also be used on drafting film, but the approach and behavior of the tool will be different.
1. Start with the Right Base Layer
Make sure your first layer is white if you plan to add light fur on top.
If you’re working with Polychromos pencils:
- Use a white base layer first
- Avoid starting with Prismacolor, as it is waxy and makes it difficult to draw on top
2. Use the Correct Side of the Tool
Always scrape with the correct edge of the ceramic blade.
- Do not use the sharp side
- Using the wrong edge can cut or damage your paper
3. Practice the Technique
It takes a bit of practice to control the pressure and direction. Start gently and build confidence as you go.
Learn by Watching
If you’re new to this technique, watching demonstration videos can be incredibly helpful. Seeing how the tool is handled in real time makes it much easier to understand pressure, angle, and motion.
All Rights Reserved.
Managed by HasH3Three.